
Hey crafty friends!
Anat here! Holidays season is almost here and we all want to decorate and embellish our homes, right?! So today I will show you, step by step, how to alter a "Welcome " wooden sign. I made it colorful and snowy, watch the video tutorial to see how I created it.


Let's start...
Basic Process
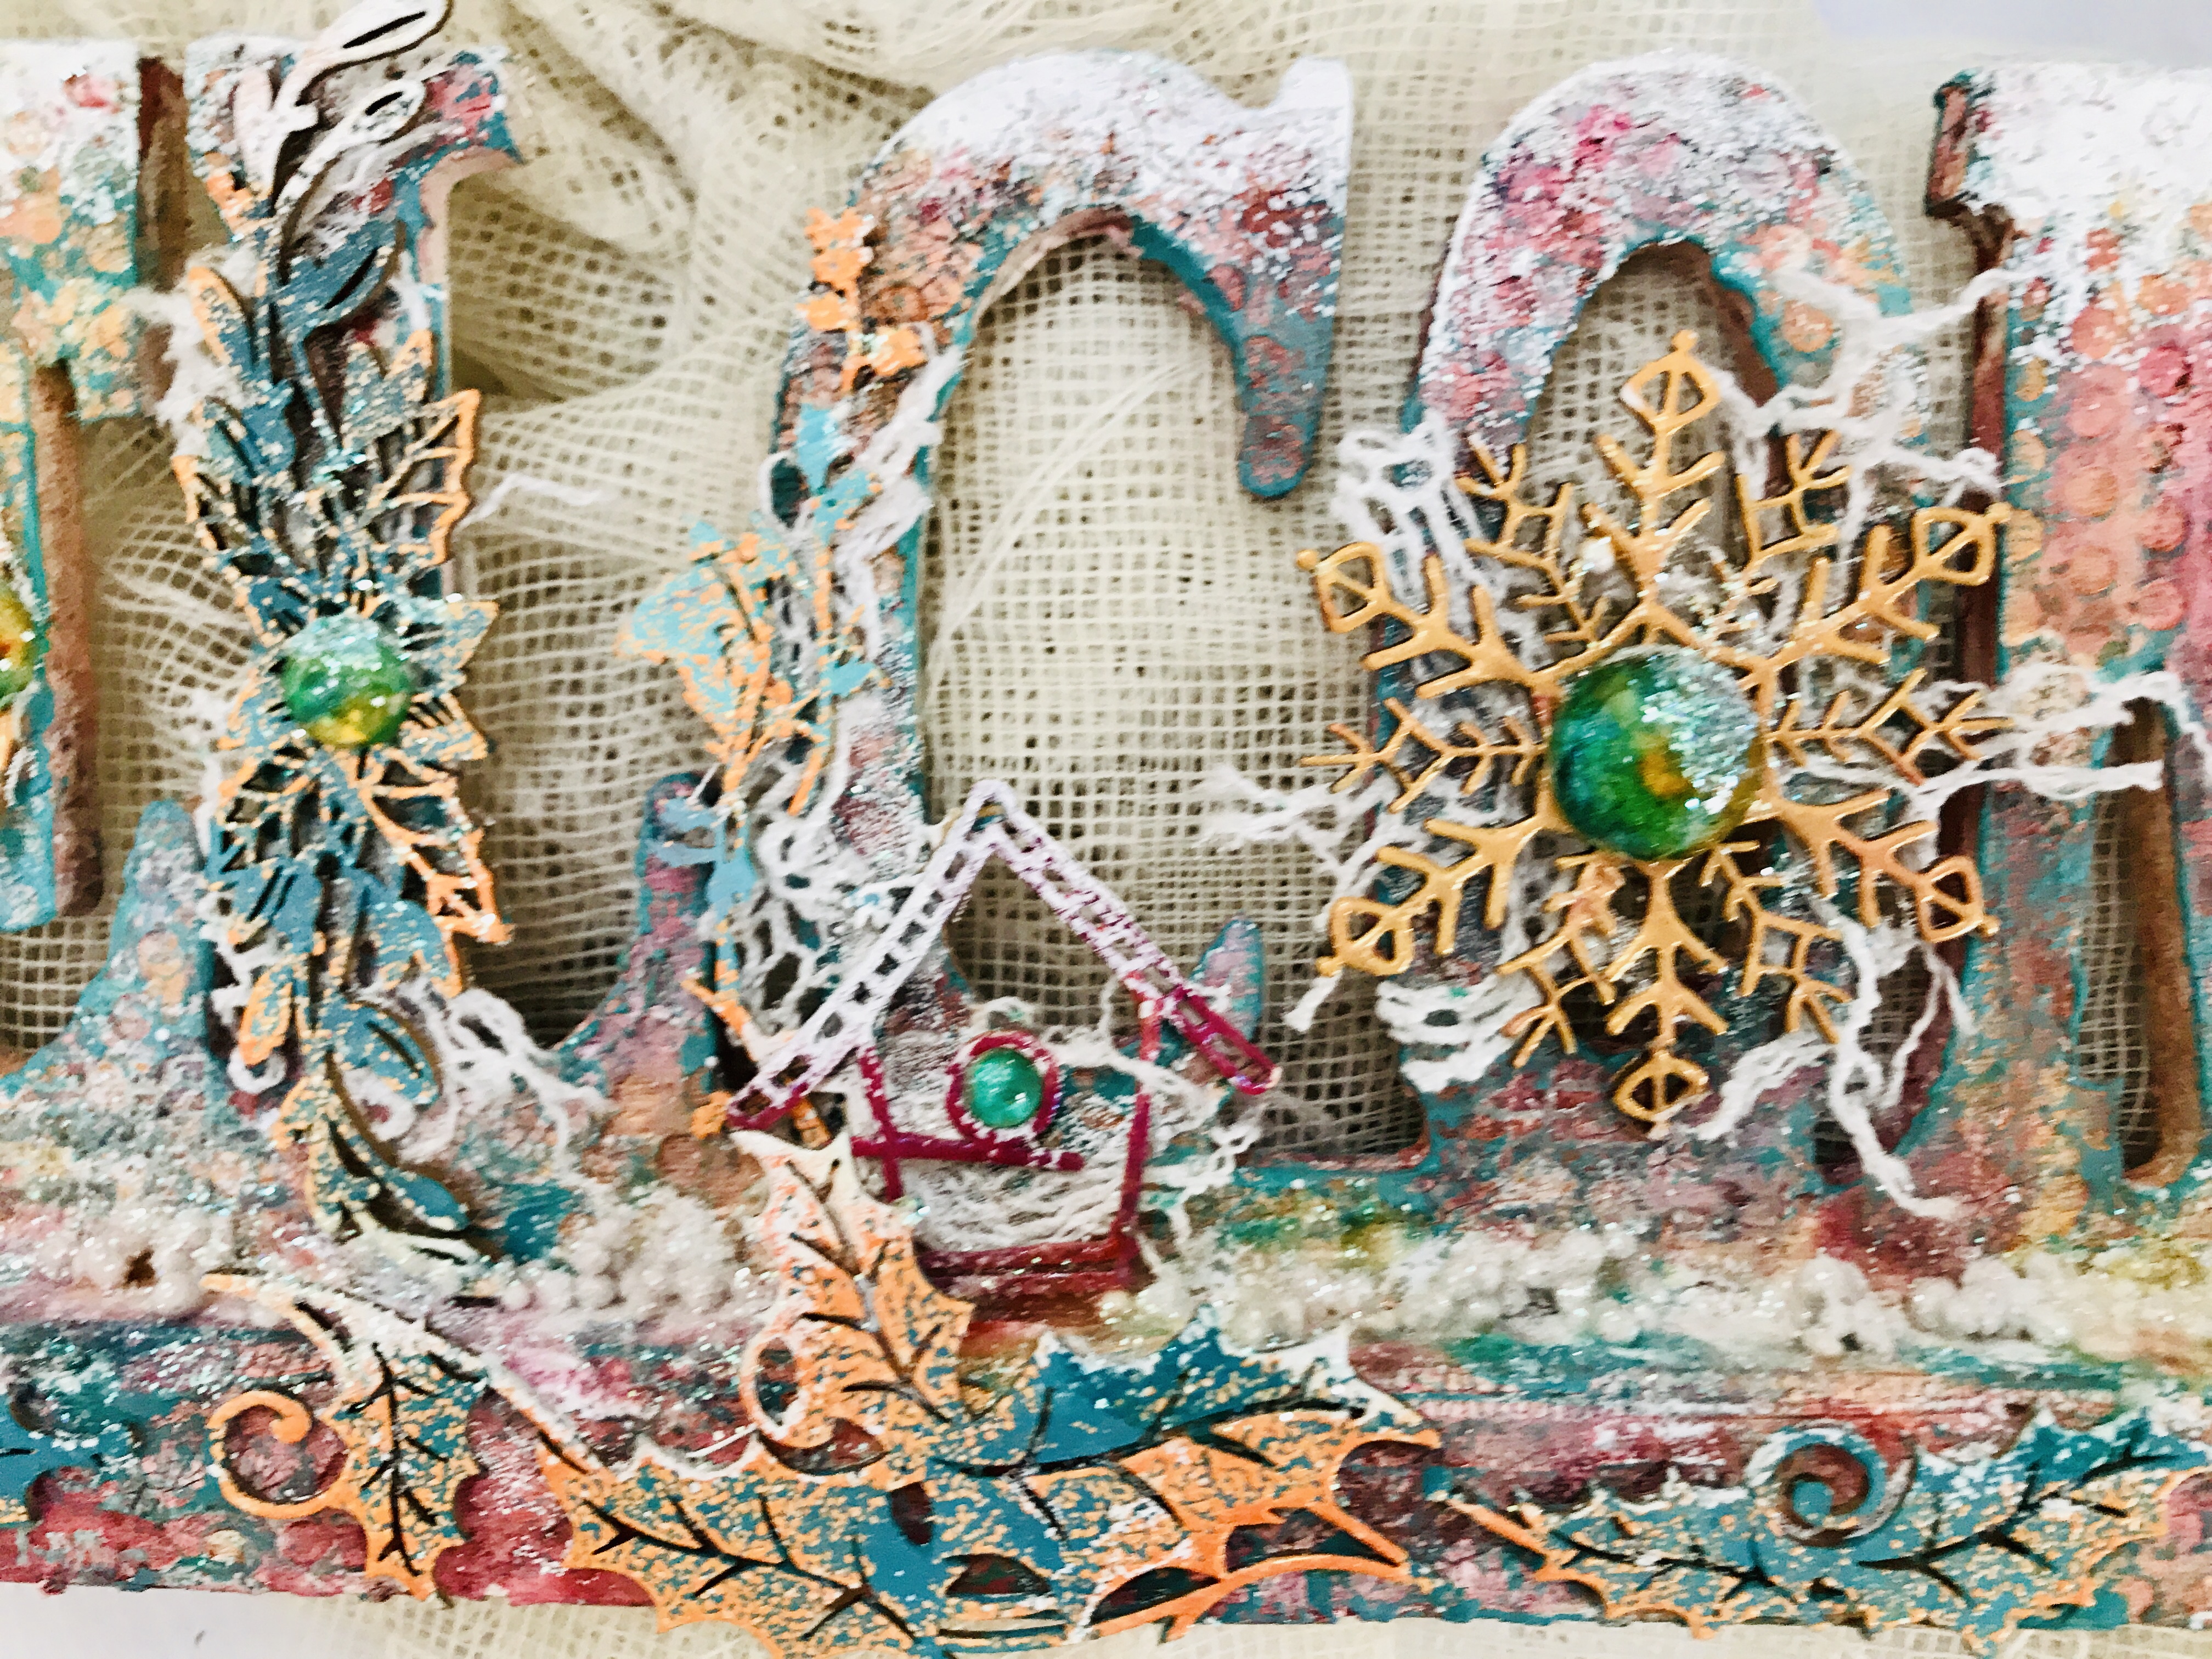
- I started by adhering pieces of joint tape, it adds such a gorgeous texture!
- Then I primed the sign with White Heavy Gesso.
- Next I added, here and there, white crackle paste.
- After drying and cracking I've added some stamping with Versa Mark ink and Queen Sheba's Silver Embossing Powder
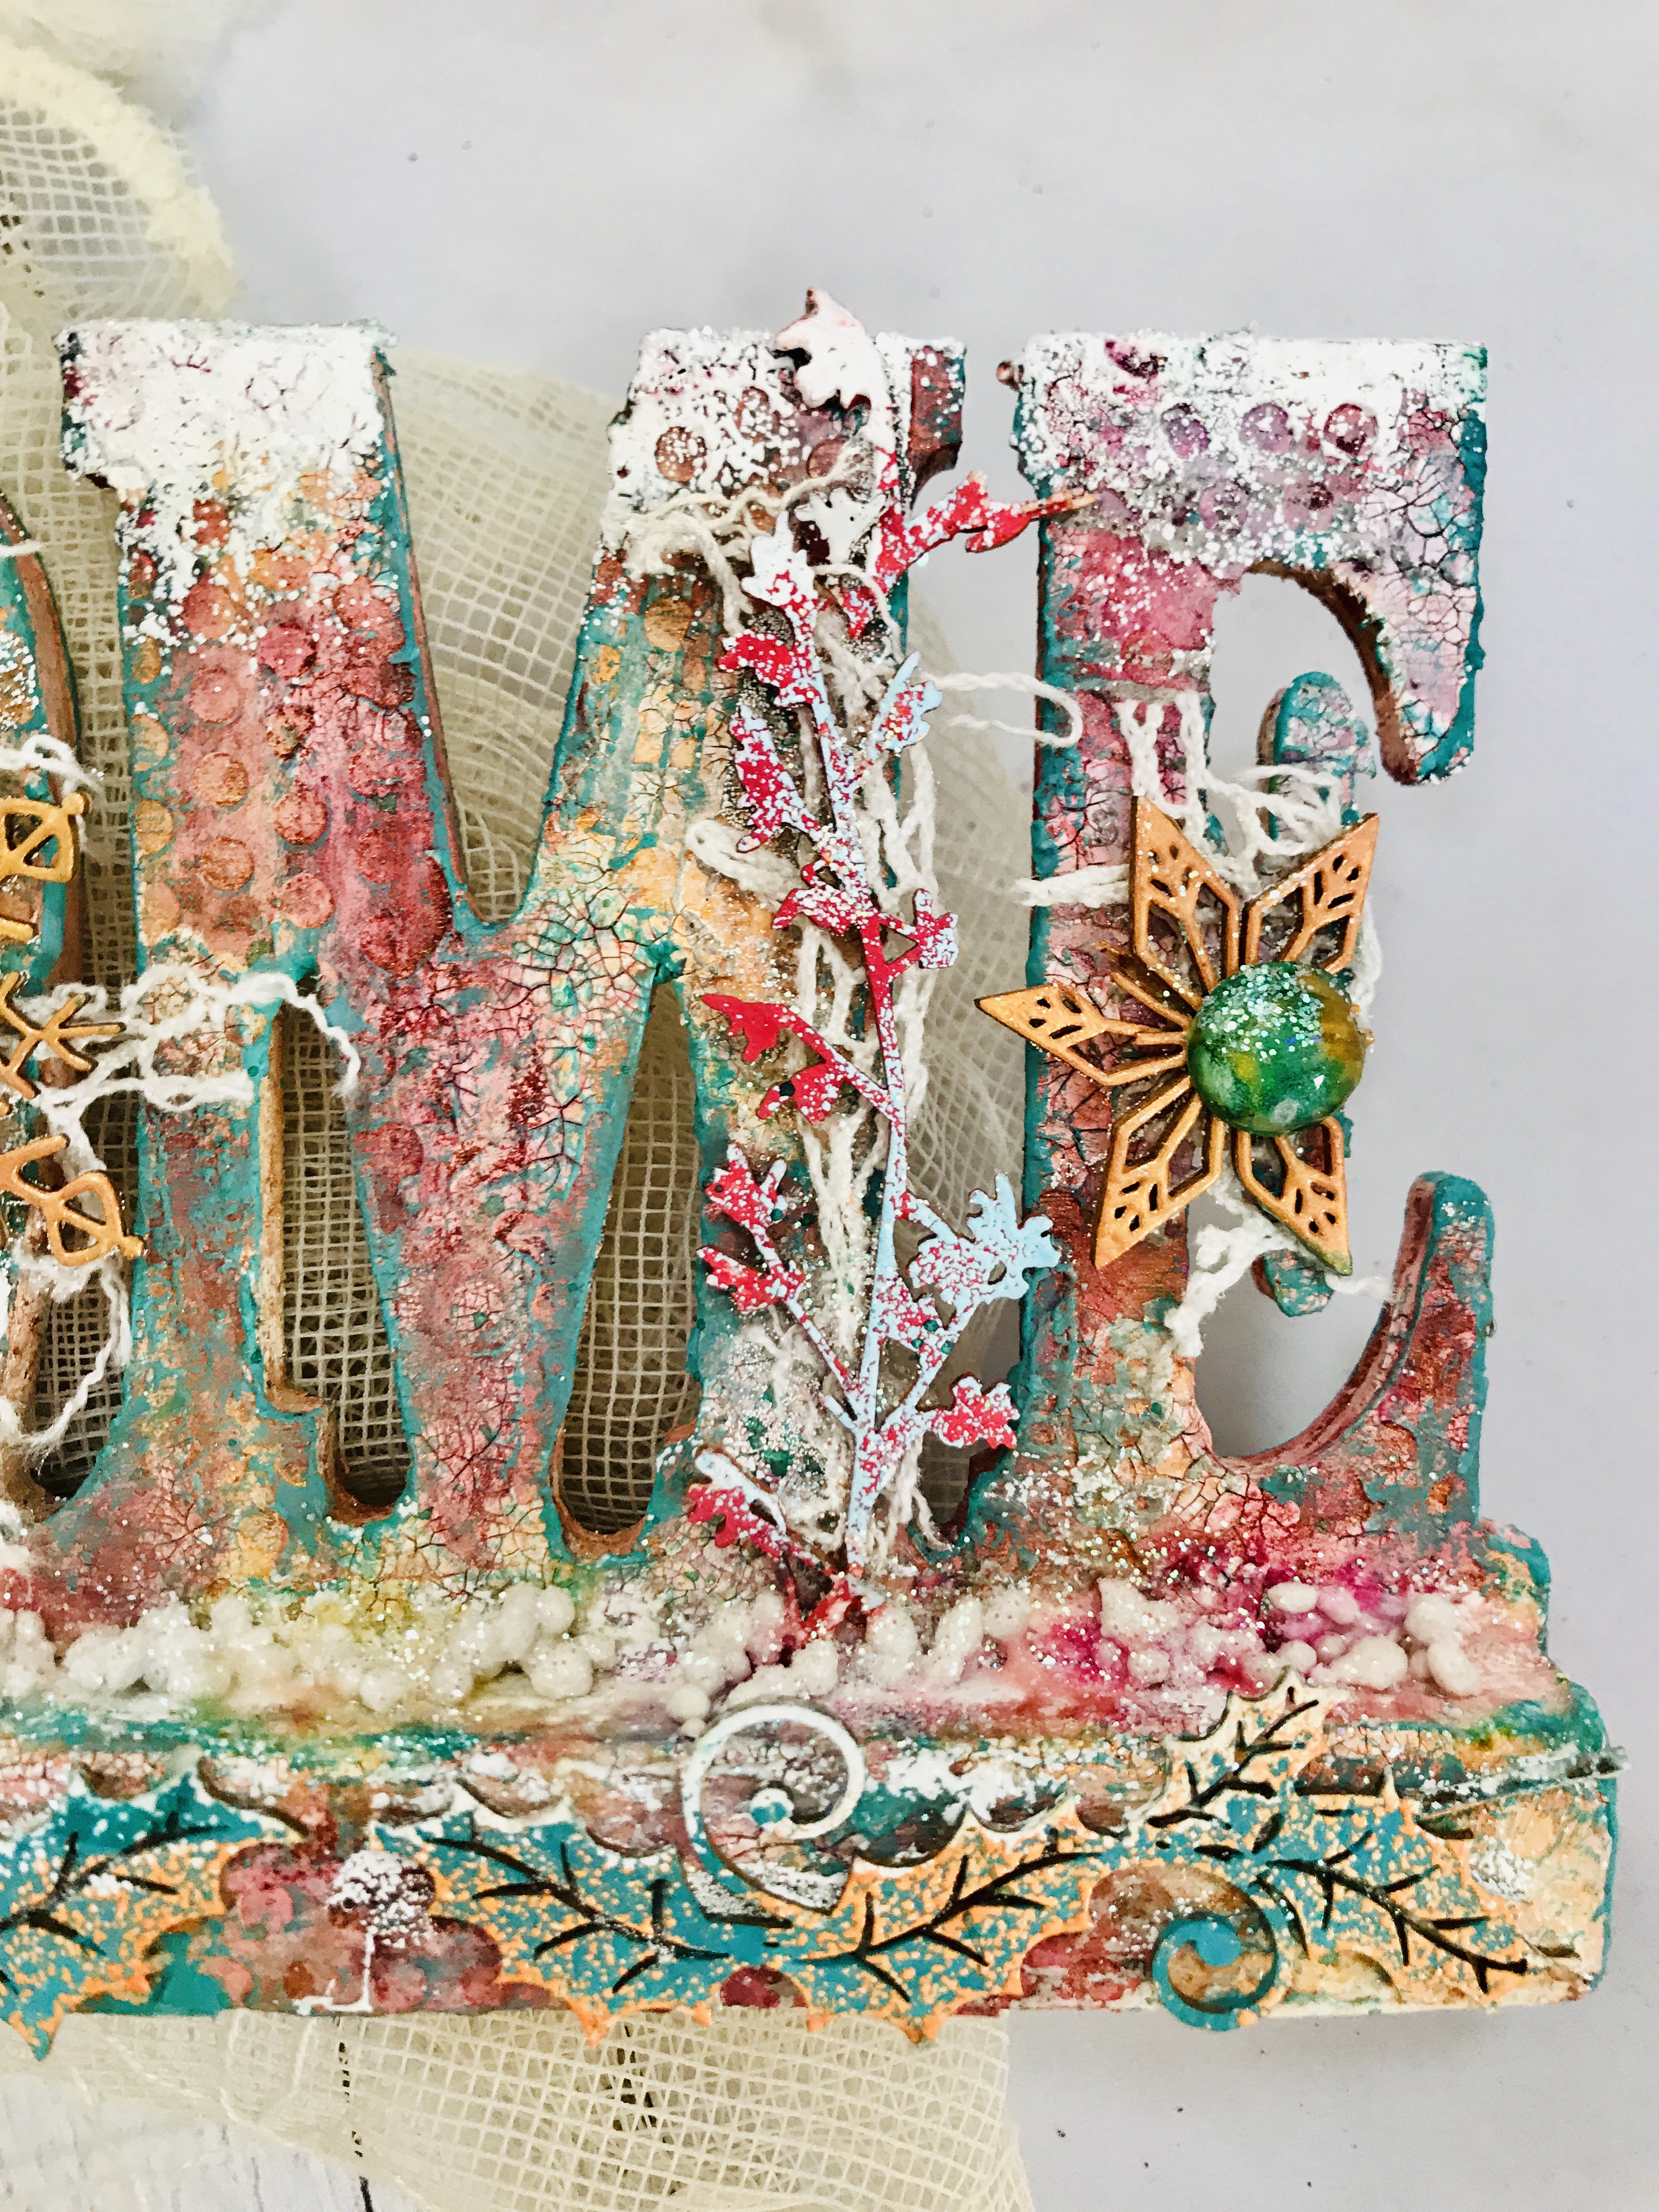
- Now to the fun part - adding color - I added 3 sprays: Marigold Yellow Orange, Open Arms Amethyst and Oh Canada Crimson Squirt
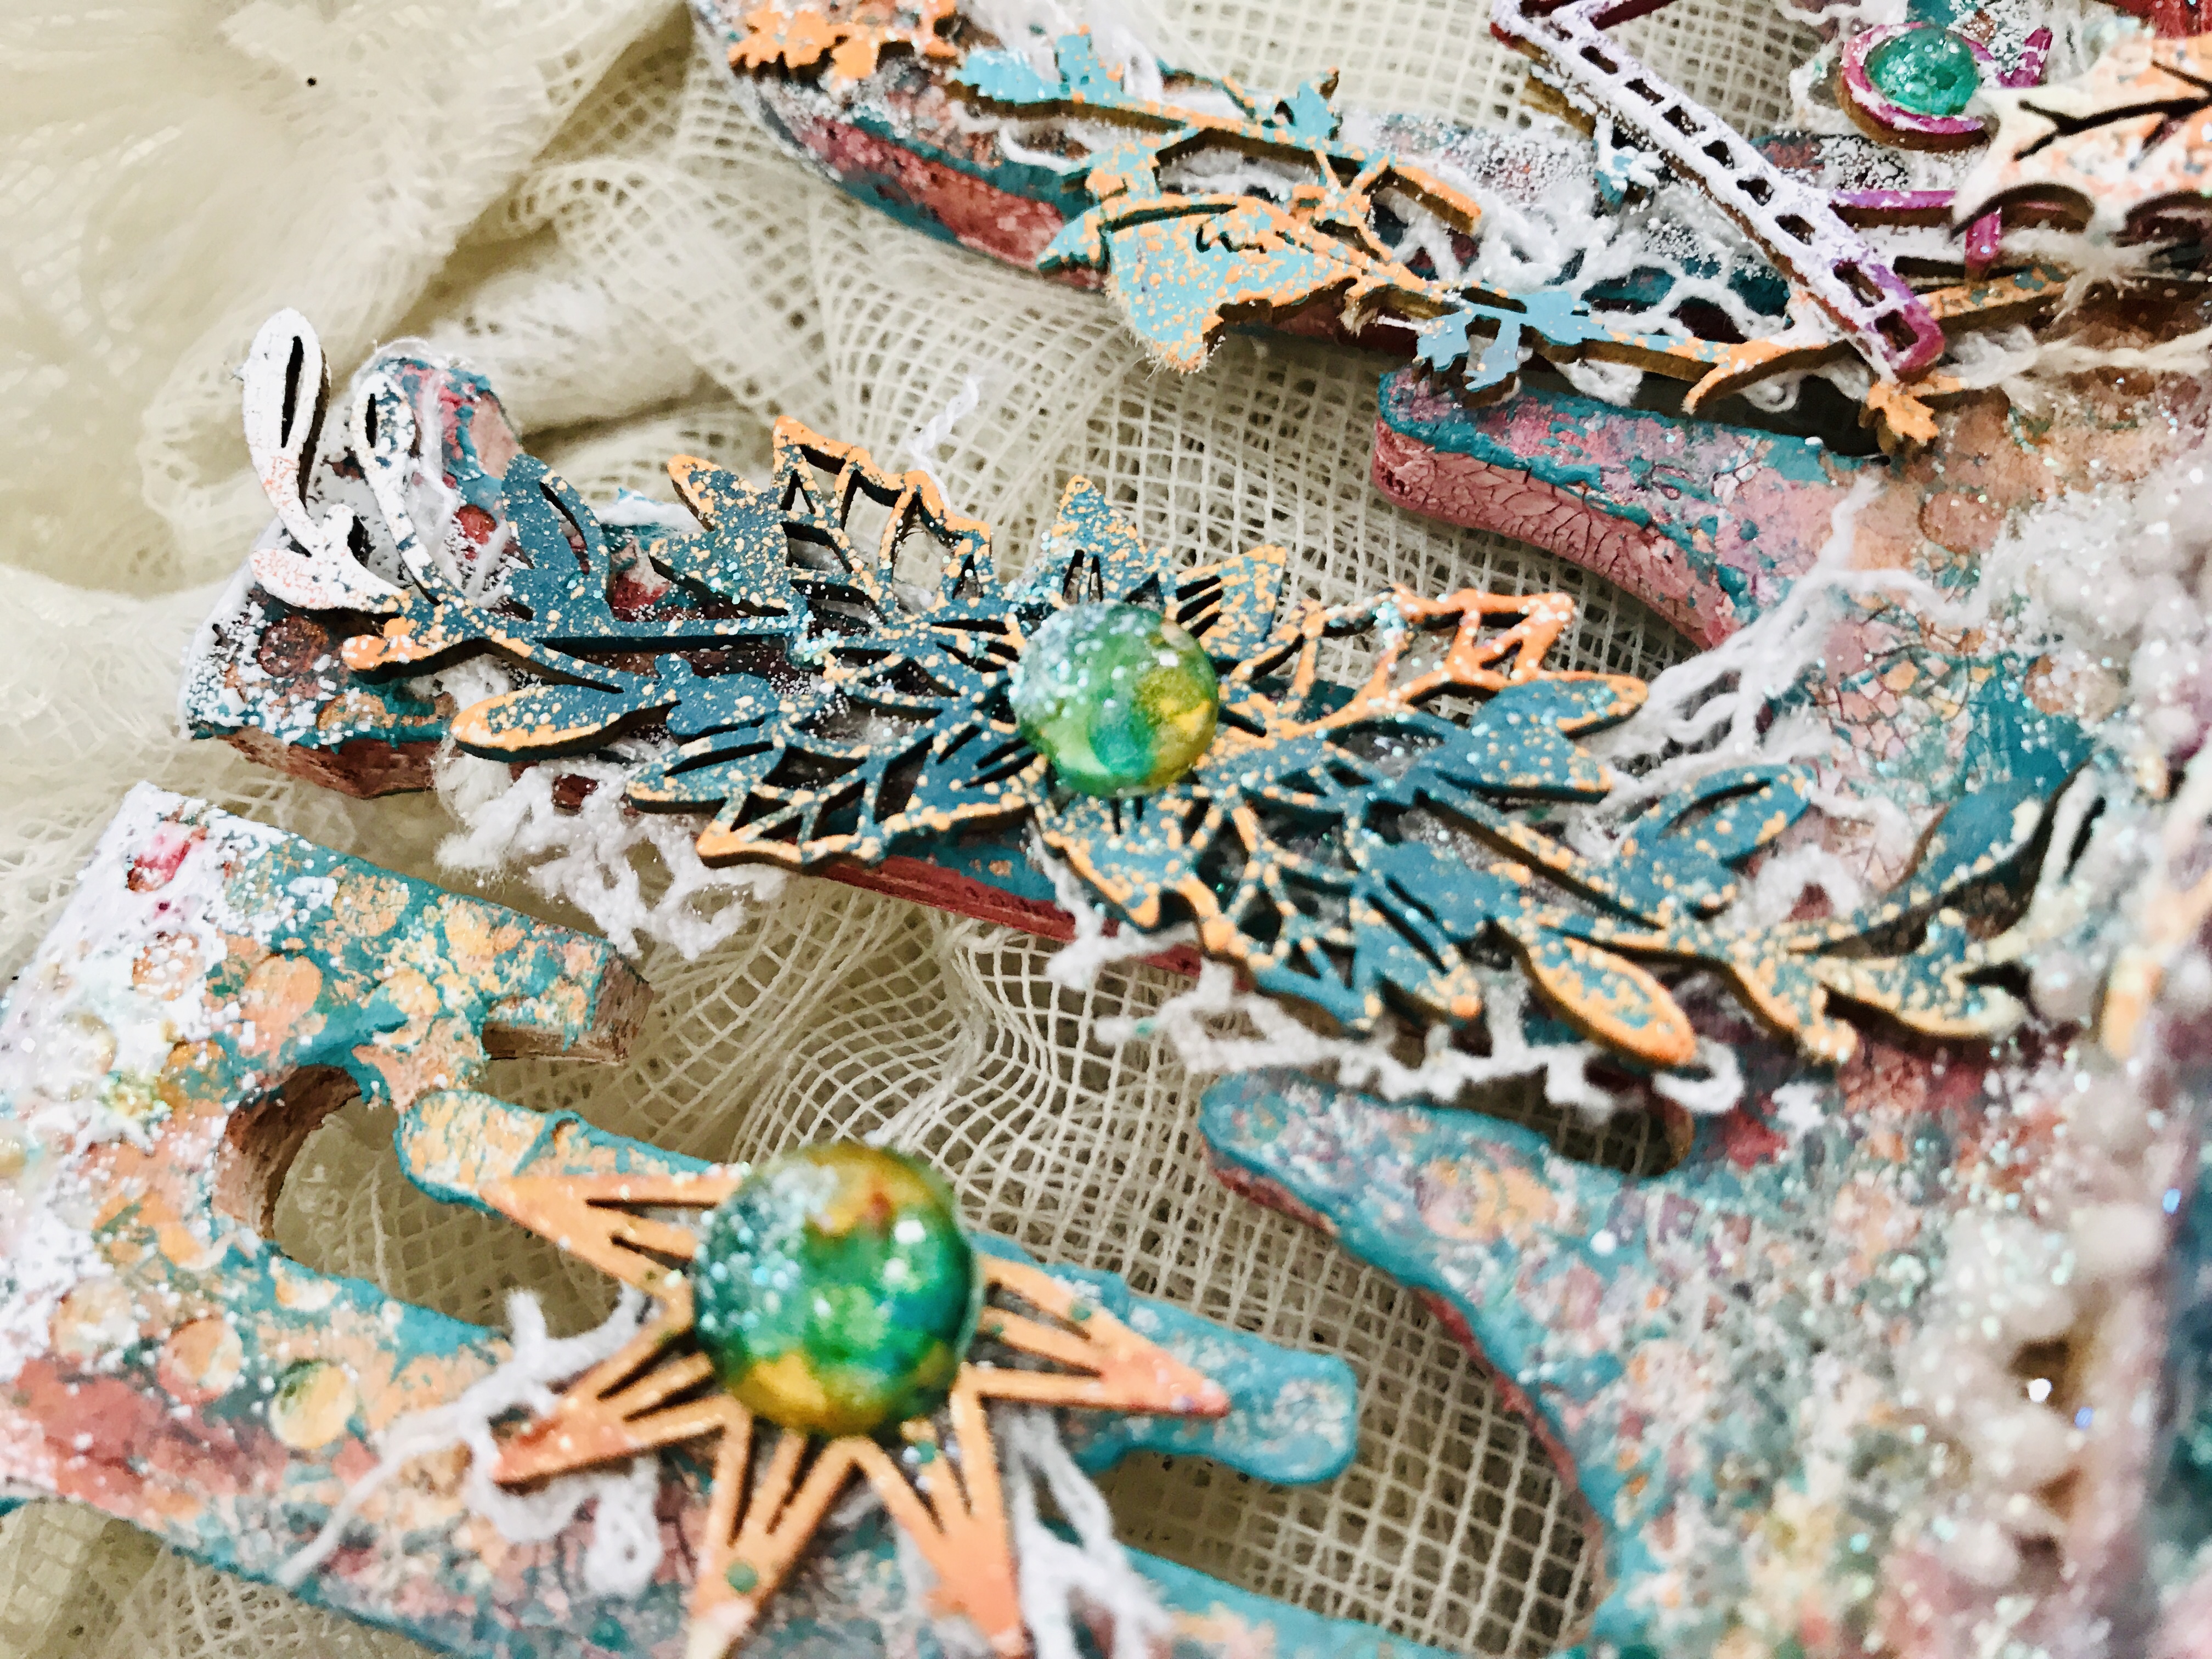
- While the sign is drying I treated some beuatiful chipboards with paints I made of white heavy gesso and Magical shakers: Cuckoo Clock Cardinal , Cowabunga Copper, Grab a Guy Gold, Time Travel Teal and Guten Tag Teal
- Next, I added to the chipboards some color with Embossing powders: Okktoberfest Orange, Tilt-a-Wheel Teal, King Midas Gold, Holly Hock Scarlet Plum
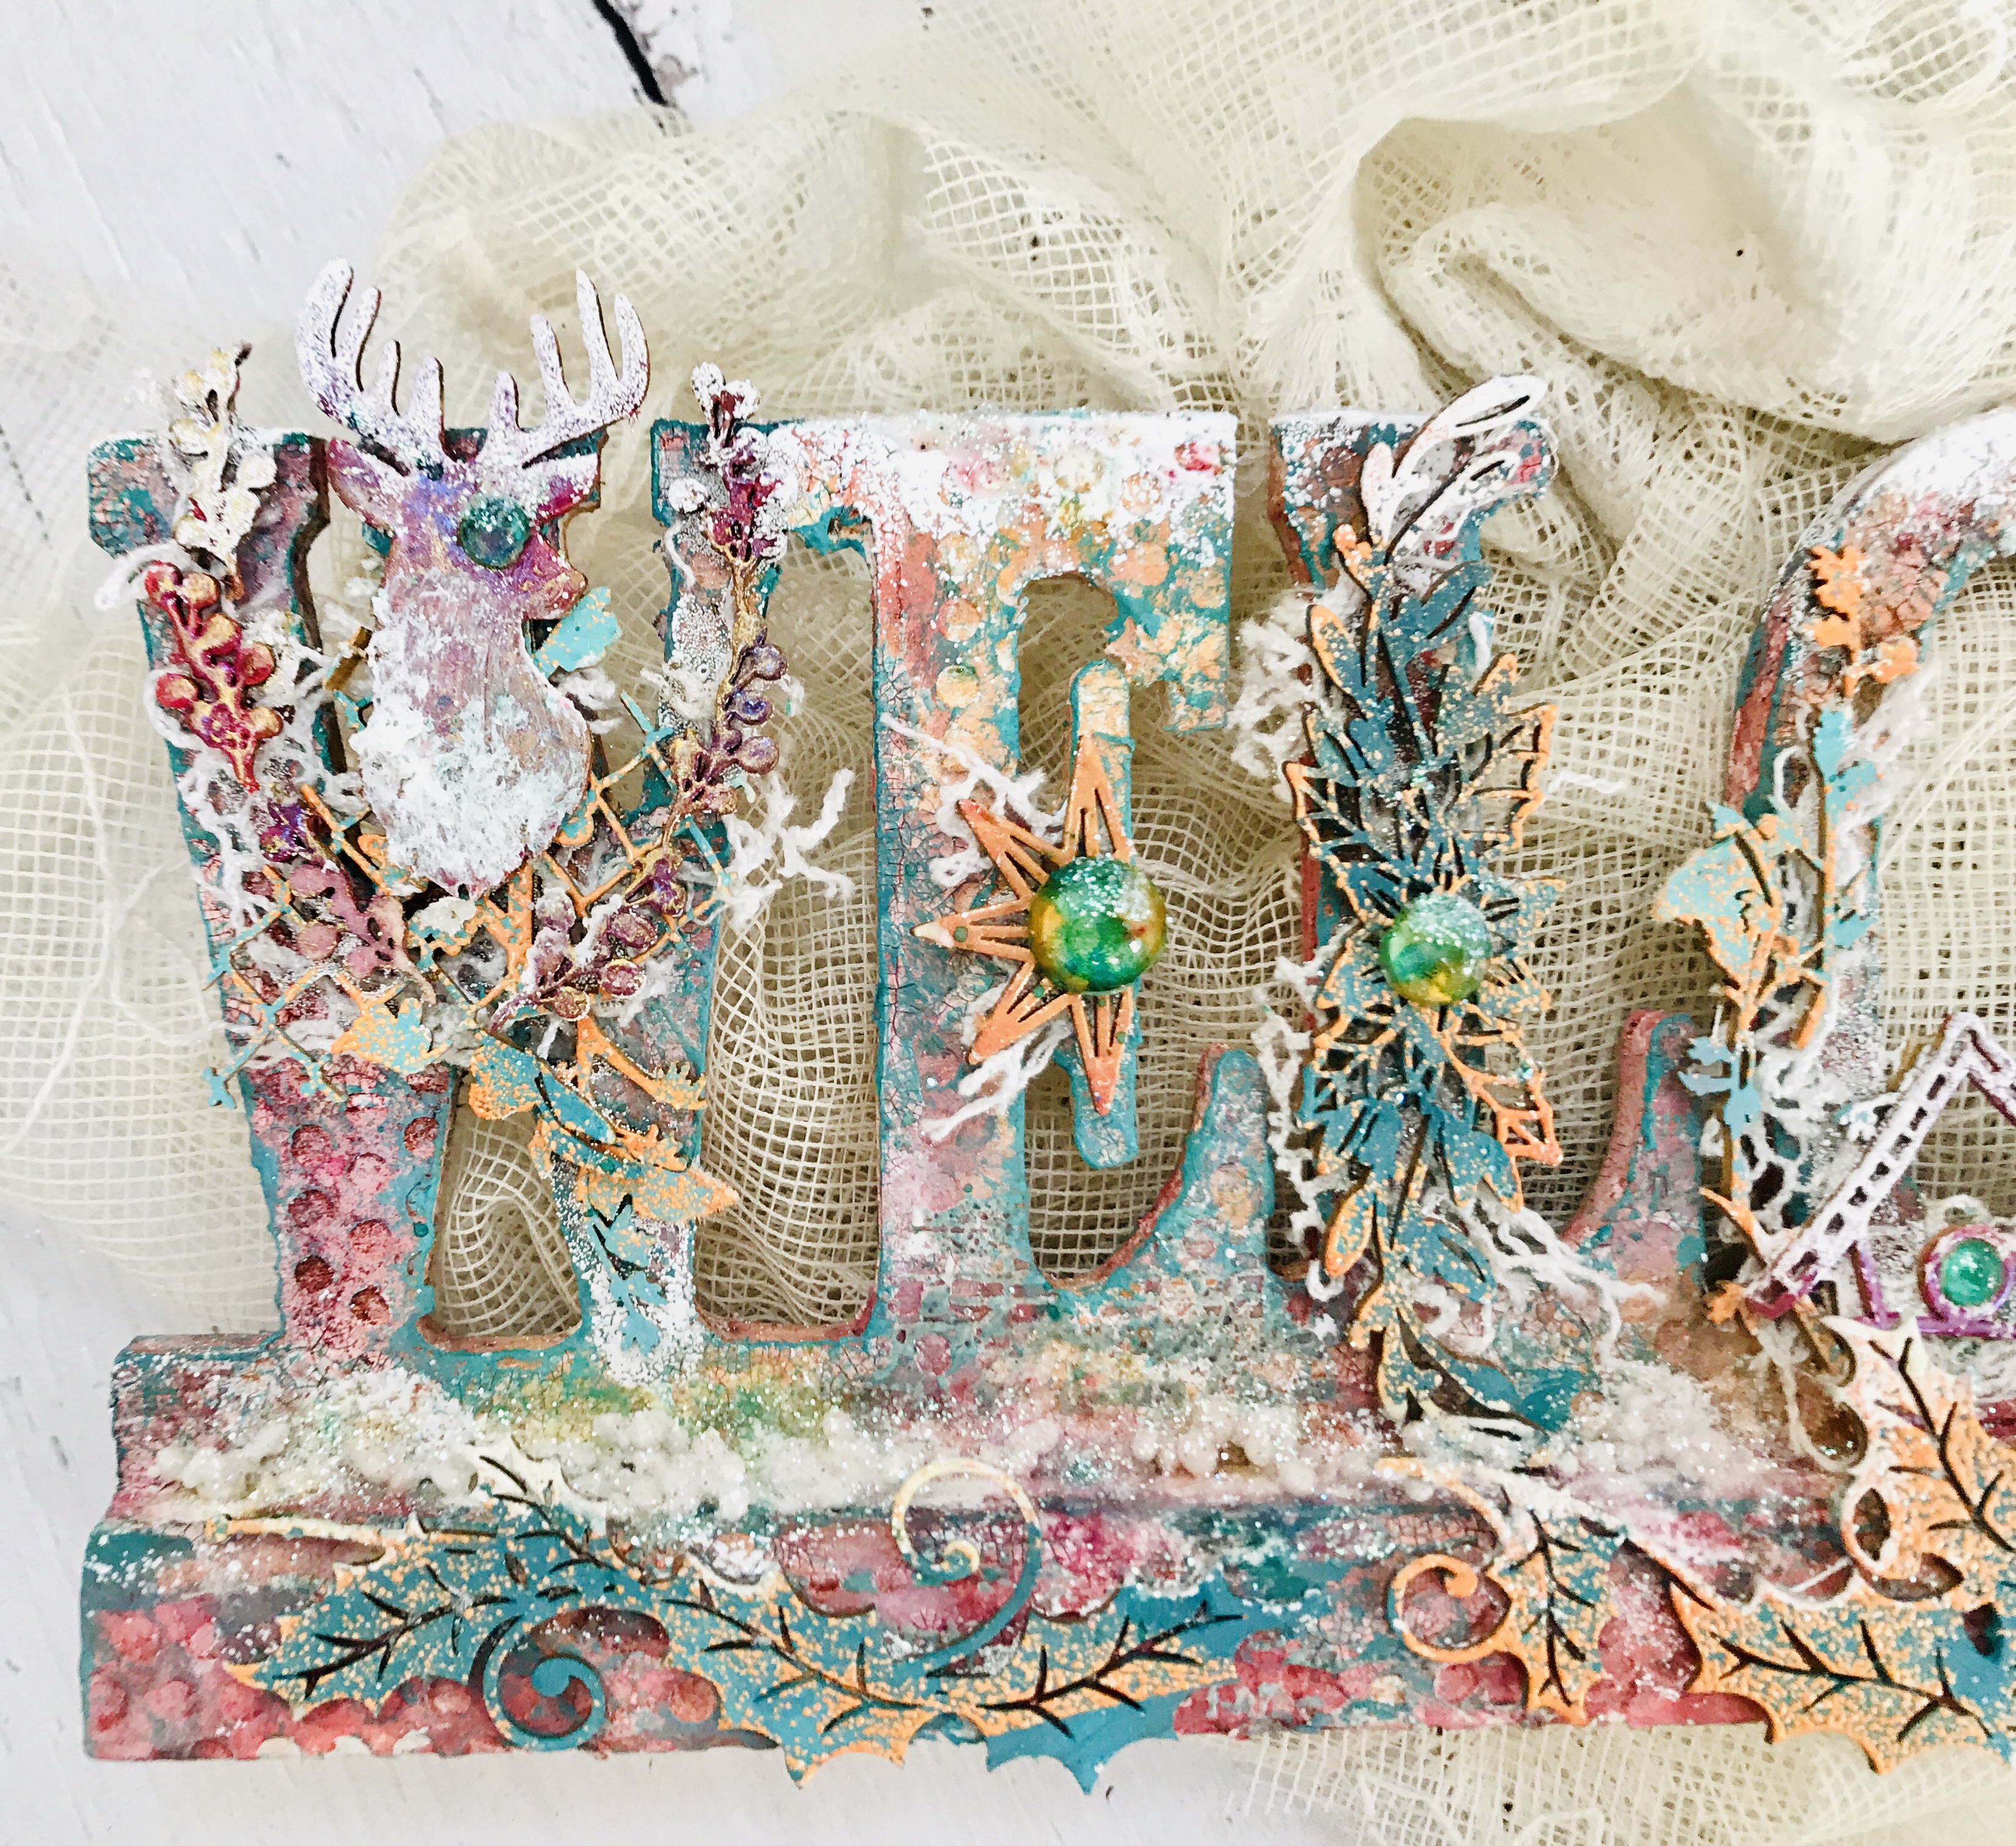
- To make the Sign more interesting I added a layer of dry brush with the paint I made of gesso and Time Travel Teal + Guten Tag Teal
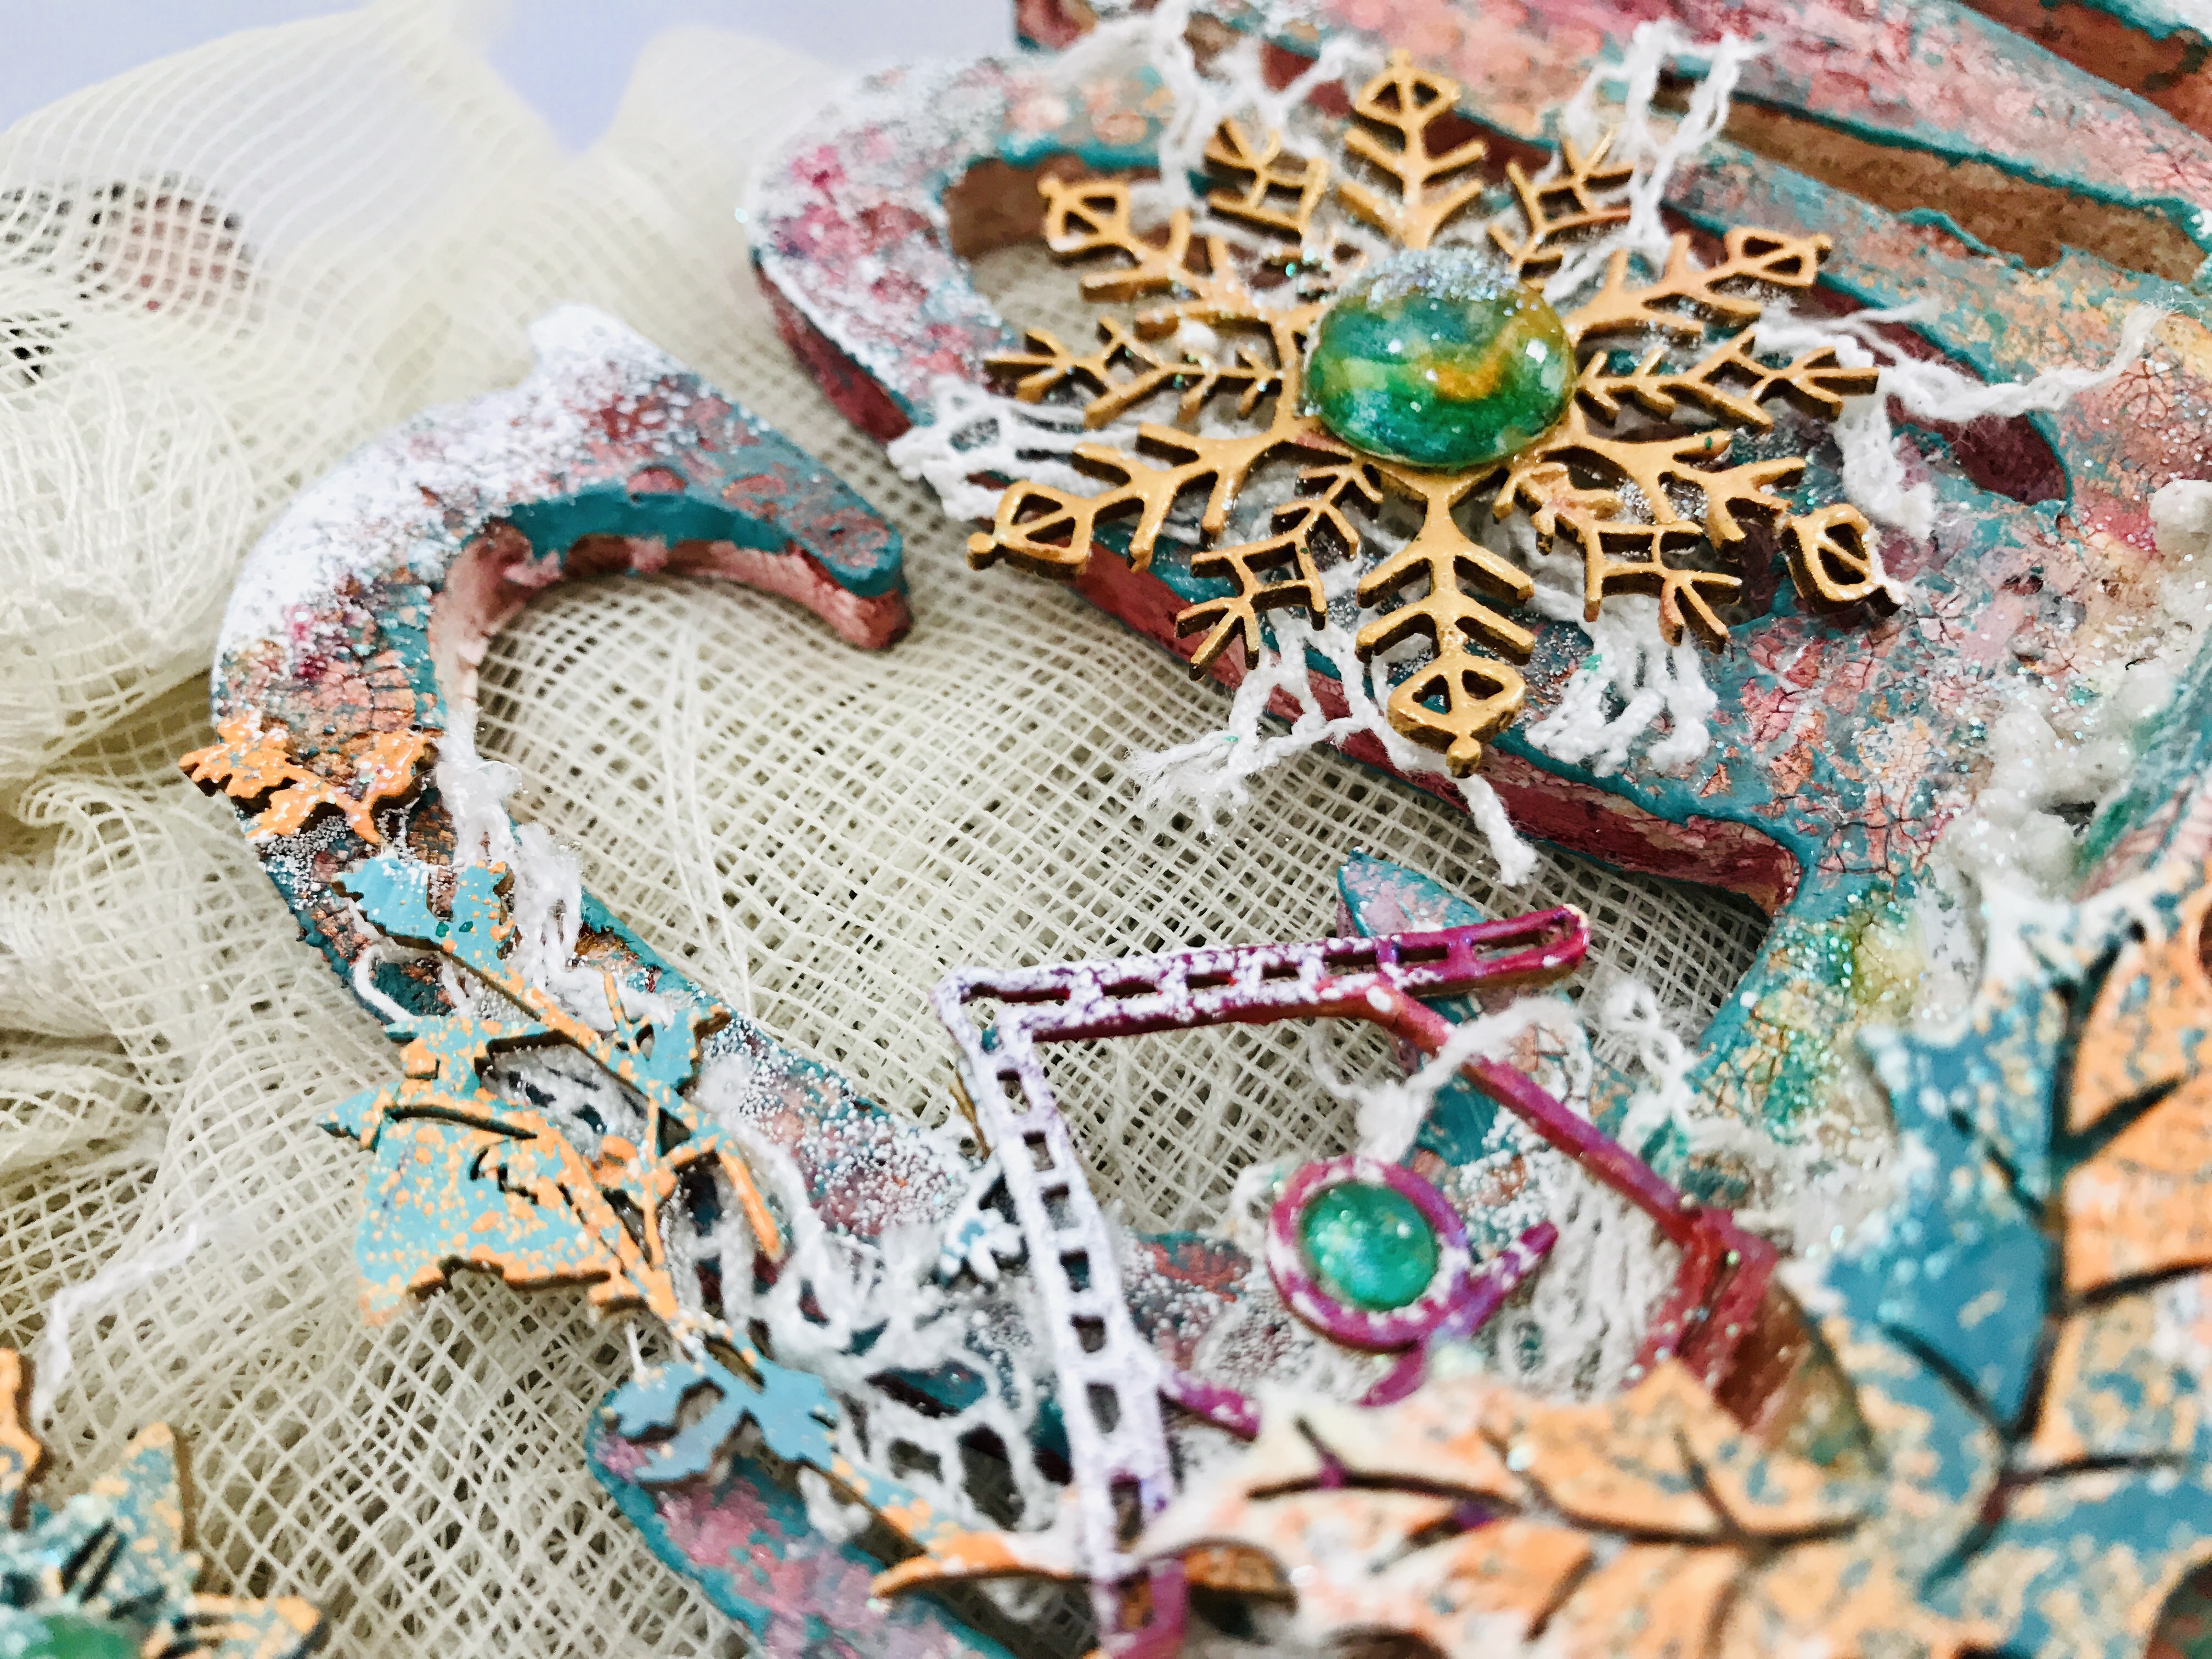
- I glued all chipboards on my piece and added the snowy look using Purley white Embossing powder
- I made my own embellishments with art pebbles: covered them with clear gesso and brushed them with Time Travel Teal and Grab a Guy Gold
Scrapiniec chipboards are:


Watch the video to see the entire process:


Scrapiniec Chipboards
Other products- Prima-Finnabair Heavy white gesso, Prima-Finnabair Crackle paste white, Prima-Finnabair clear gesso
- Lindy's Magical Shakers: Cuckoo Clock Cardinal , Cowabunga Copper, Grab a Guy Gold, Time Travel Teal and Guten Tag Teal
- Lindy's Starburst Sprays: Marigold Yellow Orange, Open Arms Amethyst and Oh Canada Crimson Squirt
- Lindy's Embossing Powders: Queen Sheba's Silver, Okktoberfest Orange, Tilt-a-Wheel Teal, King Midas Gold, Holly Hock Scarlet Plum, Purley white
I hope you enjoyed it and feel inspired to make one for your home!
Thank you for stopping by!
xoxo

Brak komentarzy:
Prześlij komentarz