Witajcie,
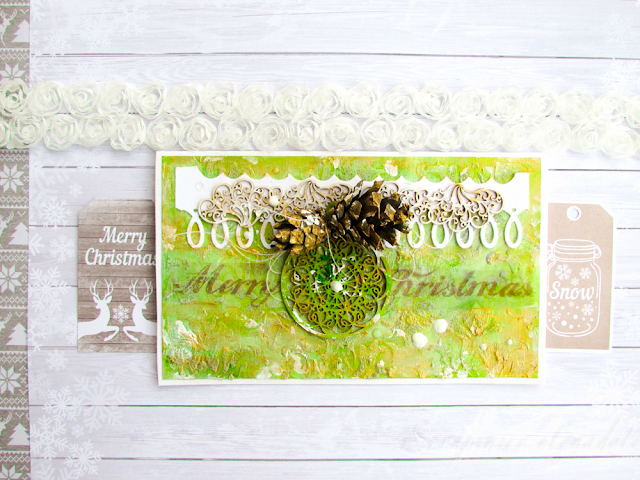
dzisiaj chciałam Wam pokazać mój sposób na super szybki shakerbox, który można zrobić z warstwowej scrapińcowej tekturki. Do zrobienia shakerboxa na tej kartce użyłam okragłej ramki.
Hello,
today I'd like to show you my way of making a super quick shakerbox, which you can make with Scrapiniec layered chipboard. I used a round frame to make a shakerbox in this card.
I po kolei kroki, jakie trzeba wykonać, by zrobić shakerbox.
Potrzebujemy:
-warstwową tekturkę ze Scrapińca
-kawałek papieru scrapowego
- kawałek przezroczystej folii
-brokat
- klej
- nożyczki
-ołówek
And here are the steps to make the shakerbox.
- layered chipboard from Scrapiniec
-a piece of scrapbooking paper
- a piece of transparent foil
-some glitter
-glue
- scissors
- a pencil
Kółko, które mamy w środku ramki (wyjmowane) posłuży nam jako wzór tyłu shakerboxa. Odrysowujemy kształt ołówkiem, a później wycinamy pozostawiając odrobinę zapasu.
The circle that is inside the frame (it may be taken out) I use as the stencil for the bottom part of the shaker box. We draw the circle with a pencil, then we cut the shape out leaving a small margin.
Nakładamy klej, pamiętając o tym, żeby nie było luk bez kleju- przez nie może wypadać brokat.
Then we apply the glue, remembering to make it carefully and not to leave holes in the glue line (the glitter would fall out).
Następnie podklejamy od spodu wycinankę i czekamy aż dobrze wyschnie klej. Jeśli do środka wycinanki wsypiemy brokat za wcześnie- przyklei się do kleju.
Next we apply the paper at the bottom of the lower part of the frame and we wait until the glue is completely dry. If we put the glitter in too quickly it would stick to the wet glue.
Późnej kółko rysujemy również na folii i wycinamy je z zapasem- to będzie okienko naszego shakera.
Later, we draw the same circle on the foil and we cut it out with a margin. It'll be the window of the shaker.
Folię przyklejamy od spodu górnej wycinanki. I znów czekamy aż klej dobrze wyschnie.
We glue the foil at the bottom of the top part of the frame. And we wait again until the glue is completely dry.
Tekturkę podklejoną papierem scrapowym wypełniamy brokatem, a jej brzeg dokładnie pokrywamy klejem. Czekamy chwilkę, żeby klej trochę podsechł (nie będzie się rozlewał do środka) i dopiero wtedy naklejamy na wierzch część z folią i czekamy aż wszystko dobrze zwiąże.
We fill in the bottom part with the scrap paper with glitter and we carefully cover the edge with the glue. We wait a little while for the glue to dry a little (if it's too wet it'll slosh inside). After 15-20 secs we put on the upper part with the foil and we wait until everything is glued and dried properly.
Nasz shaker jest gotowy do użycia na kartce świątecznej.
And the shaker is ready to use.
Mam nadzieję, że kursik się Wam przyda, podzielcie się z nami w komentarzach pracami, które dzięki niemu powstaną.
I hope you'll like the tutorial, share your cards with your chipboard shakers in the comments
I used:


